30 Day Money Back Guarantee
The Proven Colour Grading System For Cinematic Visuals
Incorporating Colour Grading Into My Professional Work Allowed Me To Land Dream Clients
We live in a time where filmmaking is more accessible then ever before, cinema cameras are now affordable, and the landscape has never been more competitive.
It no longer matters what camera you have, it matters what you can do with it.
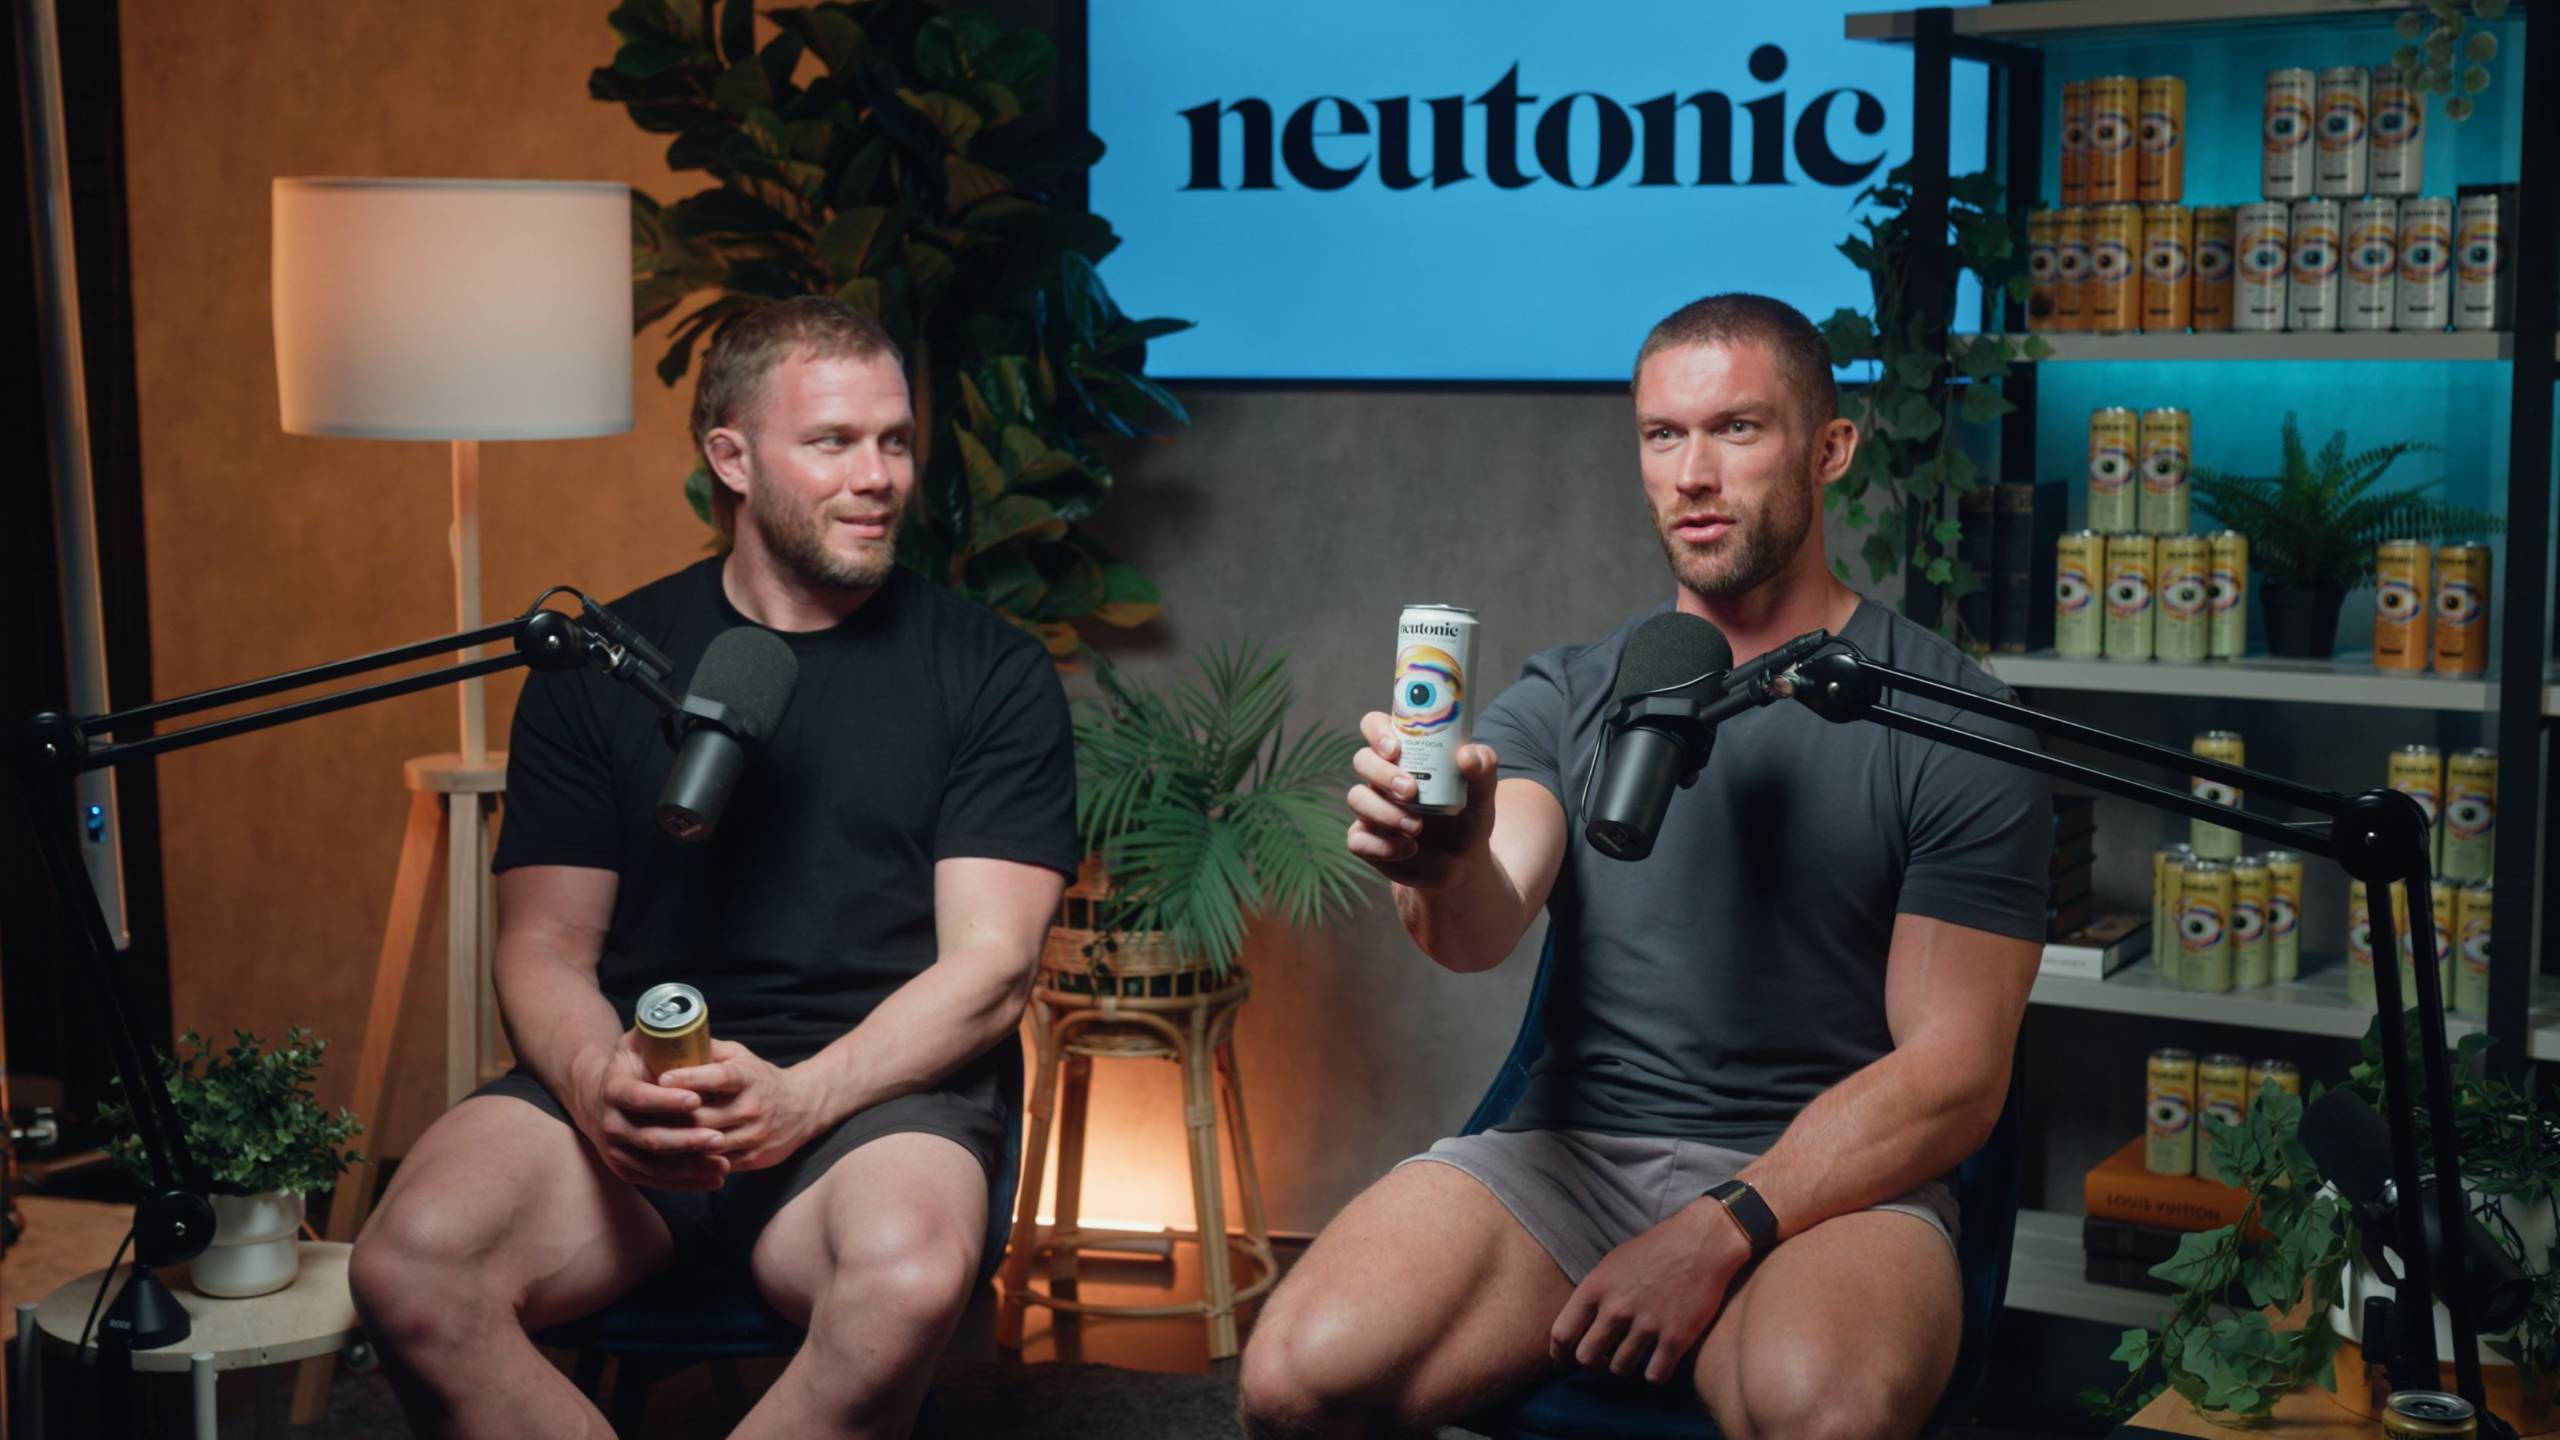
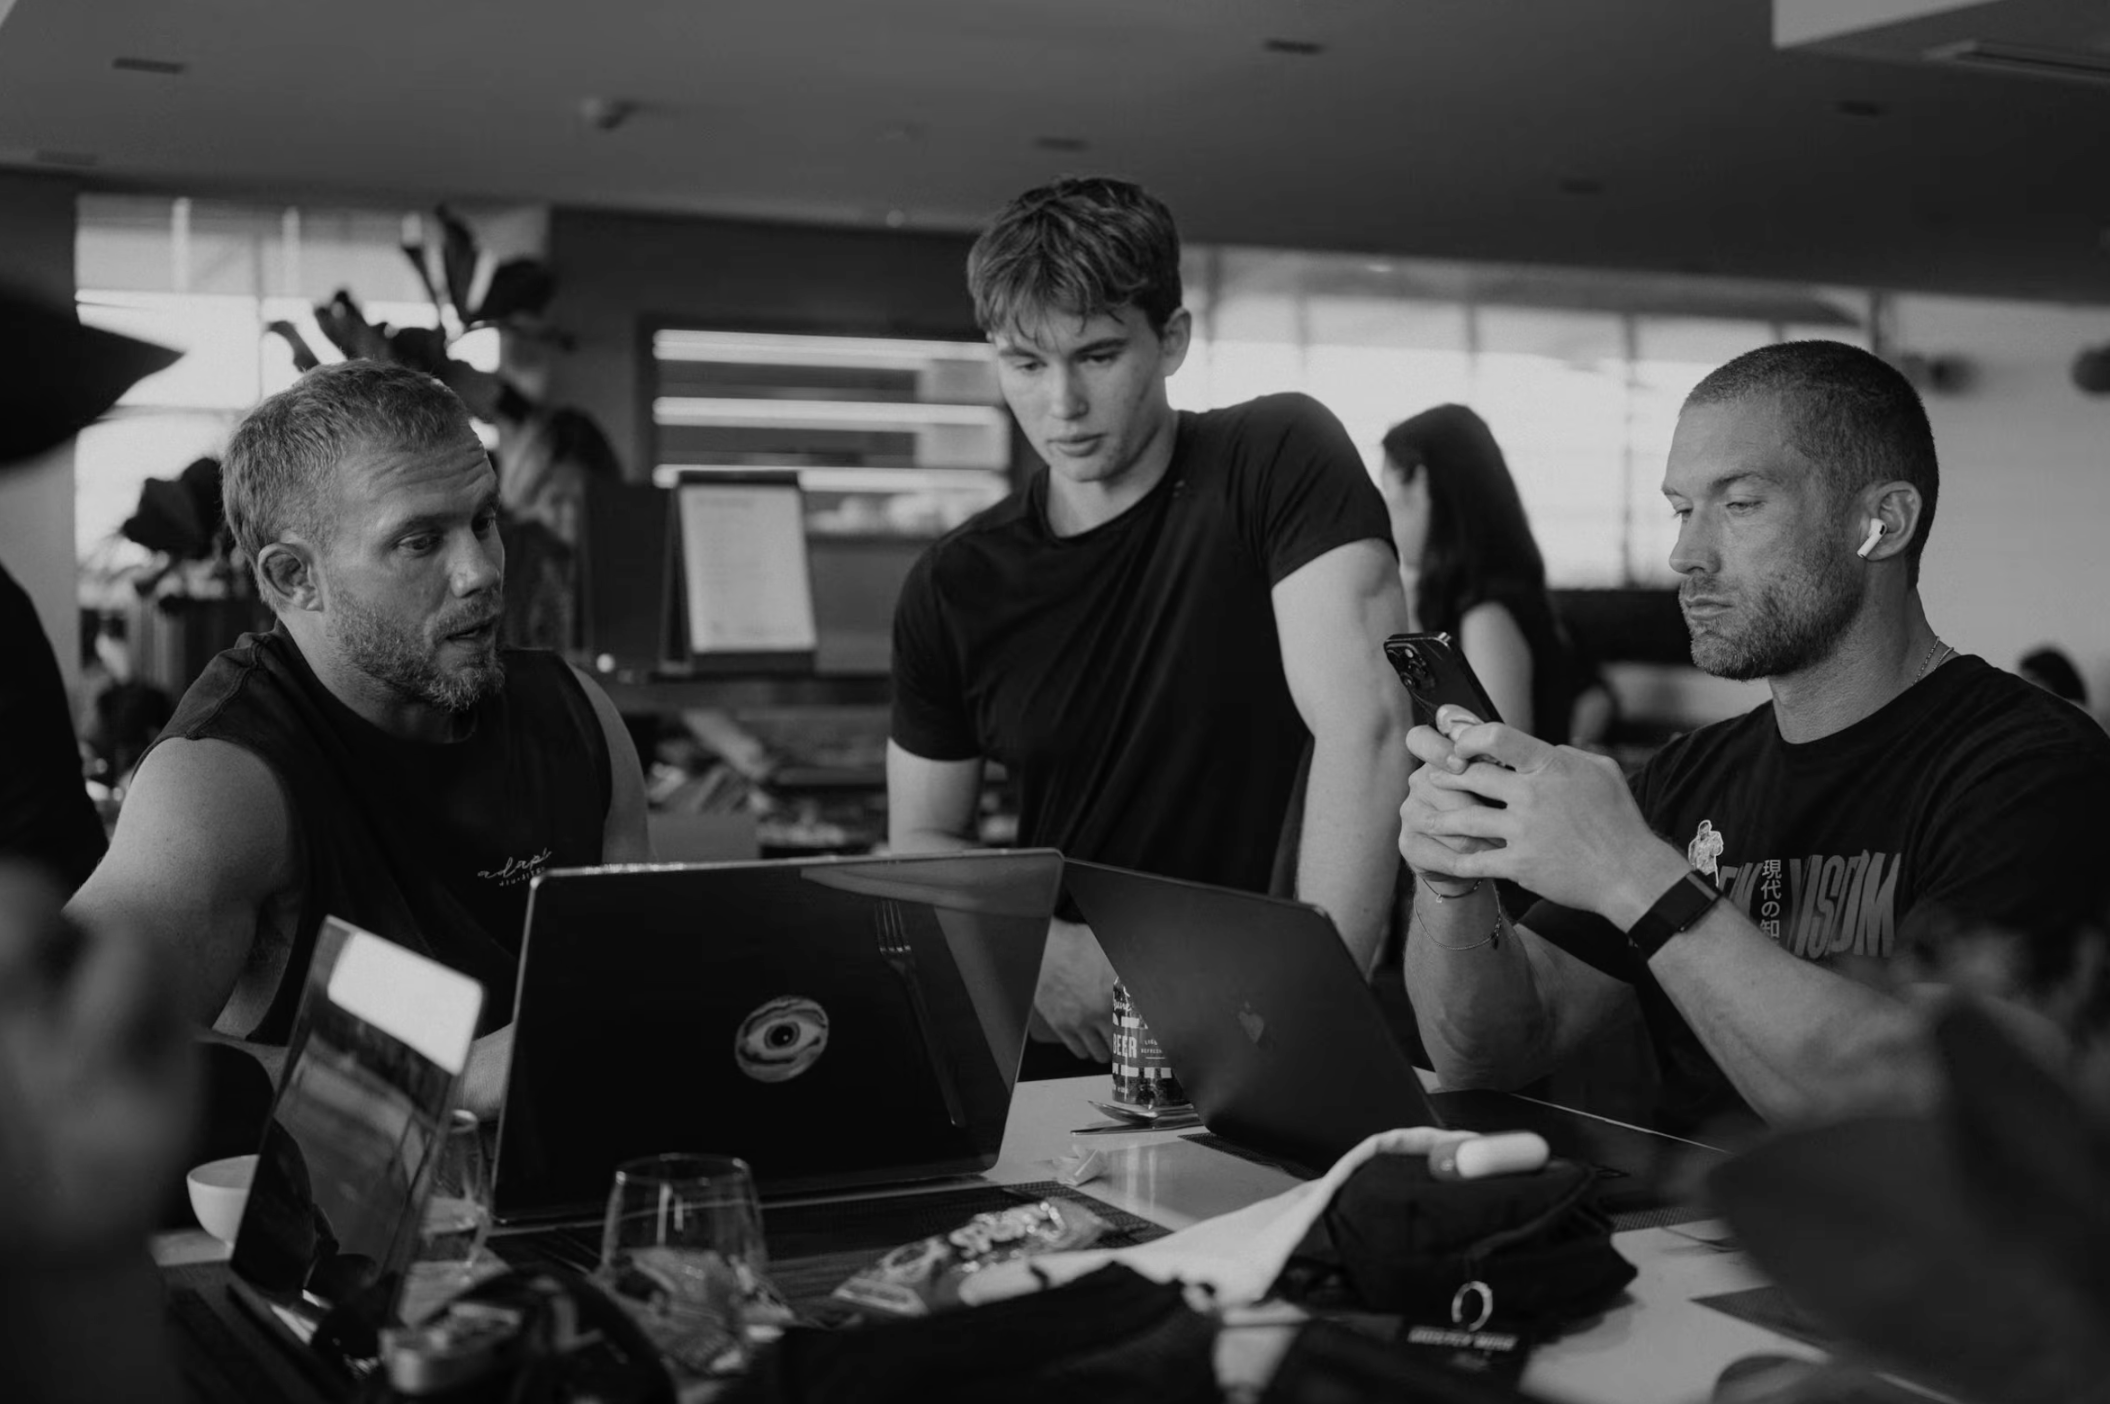
Learning colour grading was the number one factor that allowed my work to stand out, which in turn allowed me to charge more for my work and land dream clients like James Smith and the founders of Neutonic, a 60M drinks brand.

What you will learn:
Introduction to DaVinci Resolve
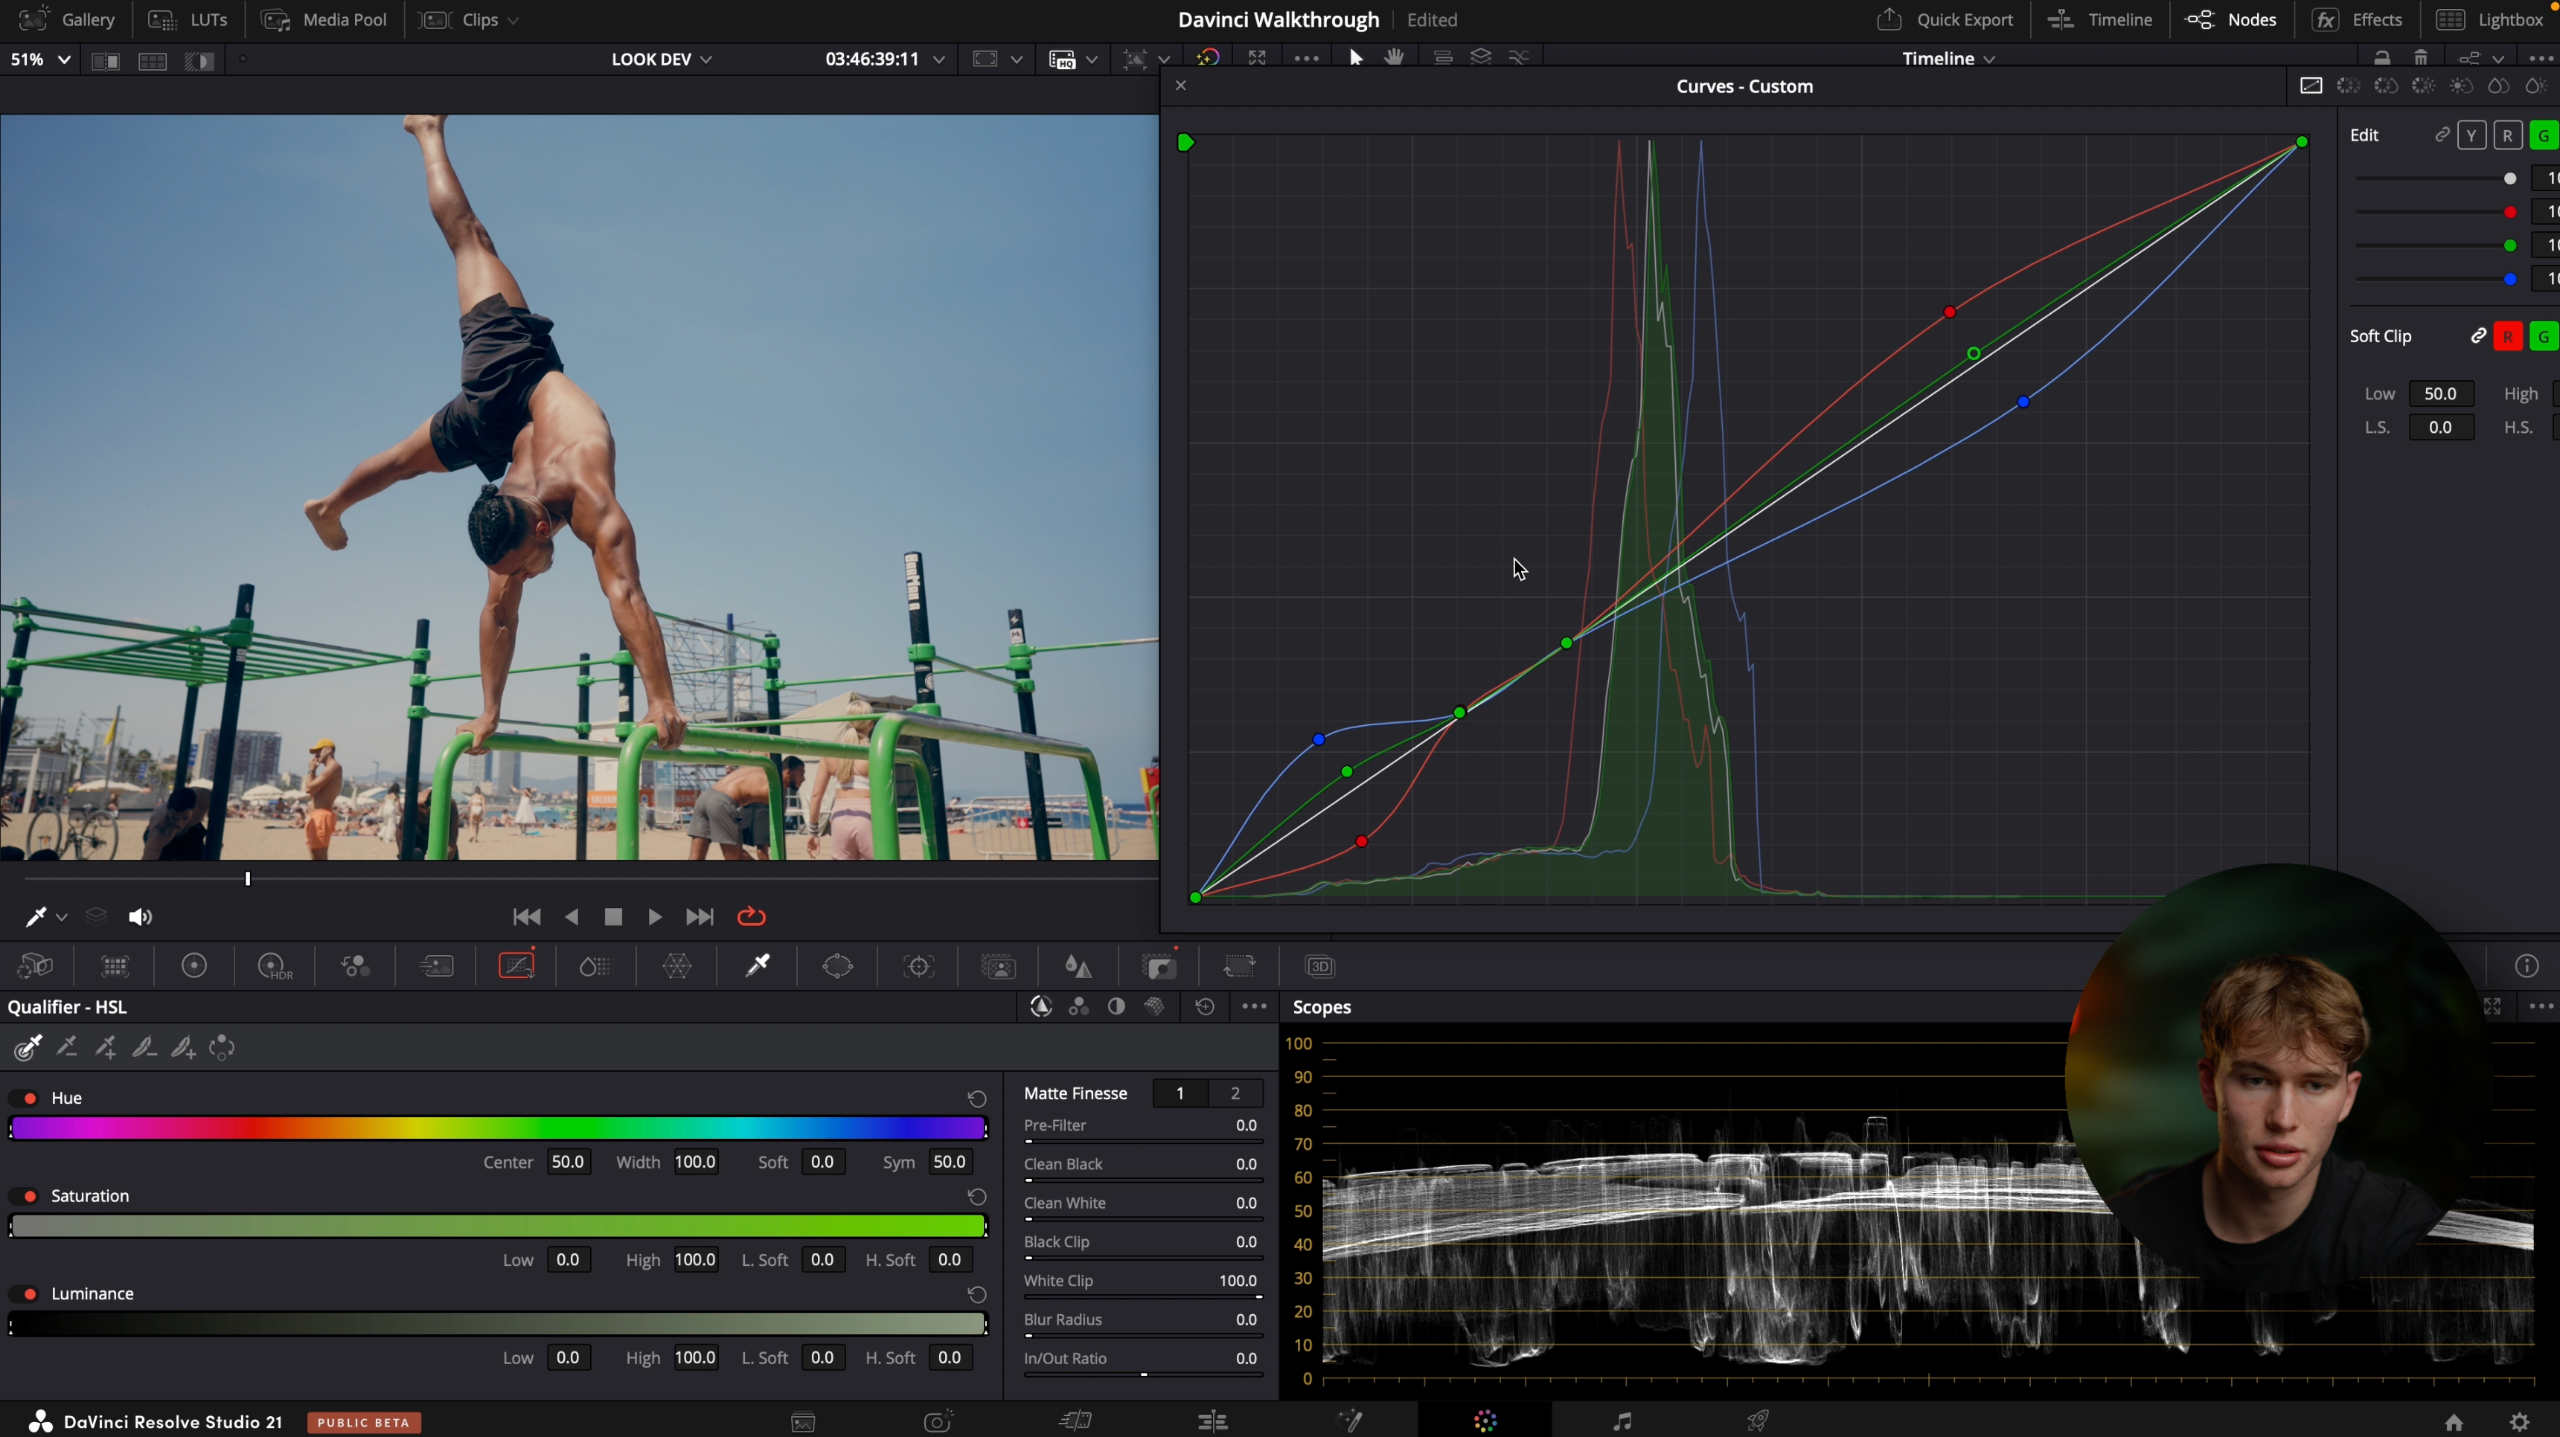
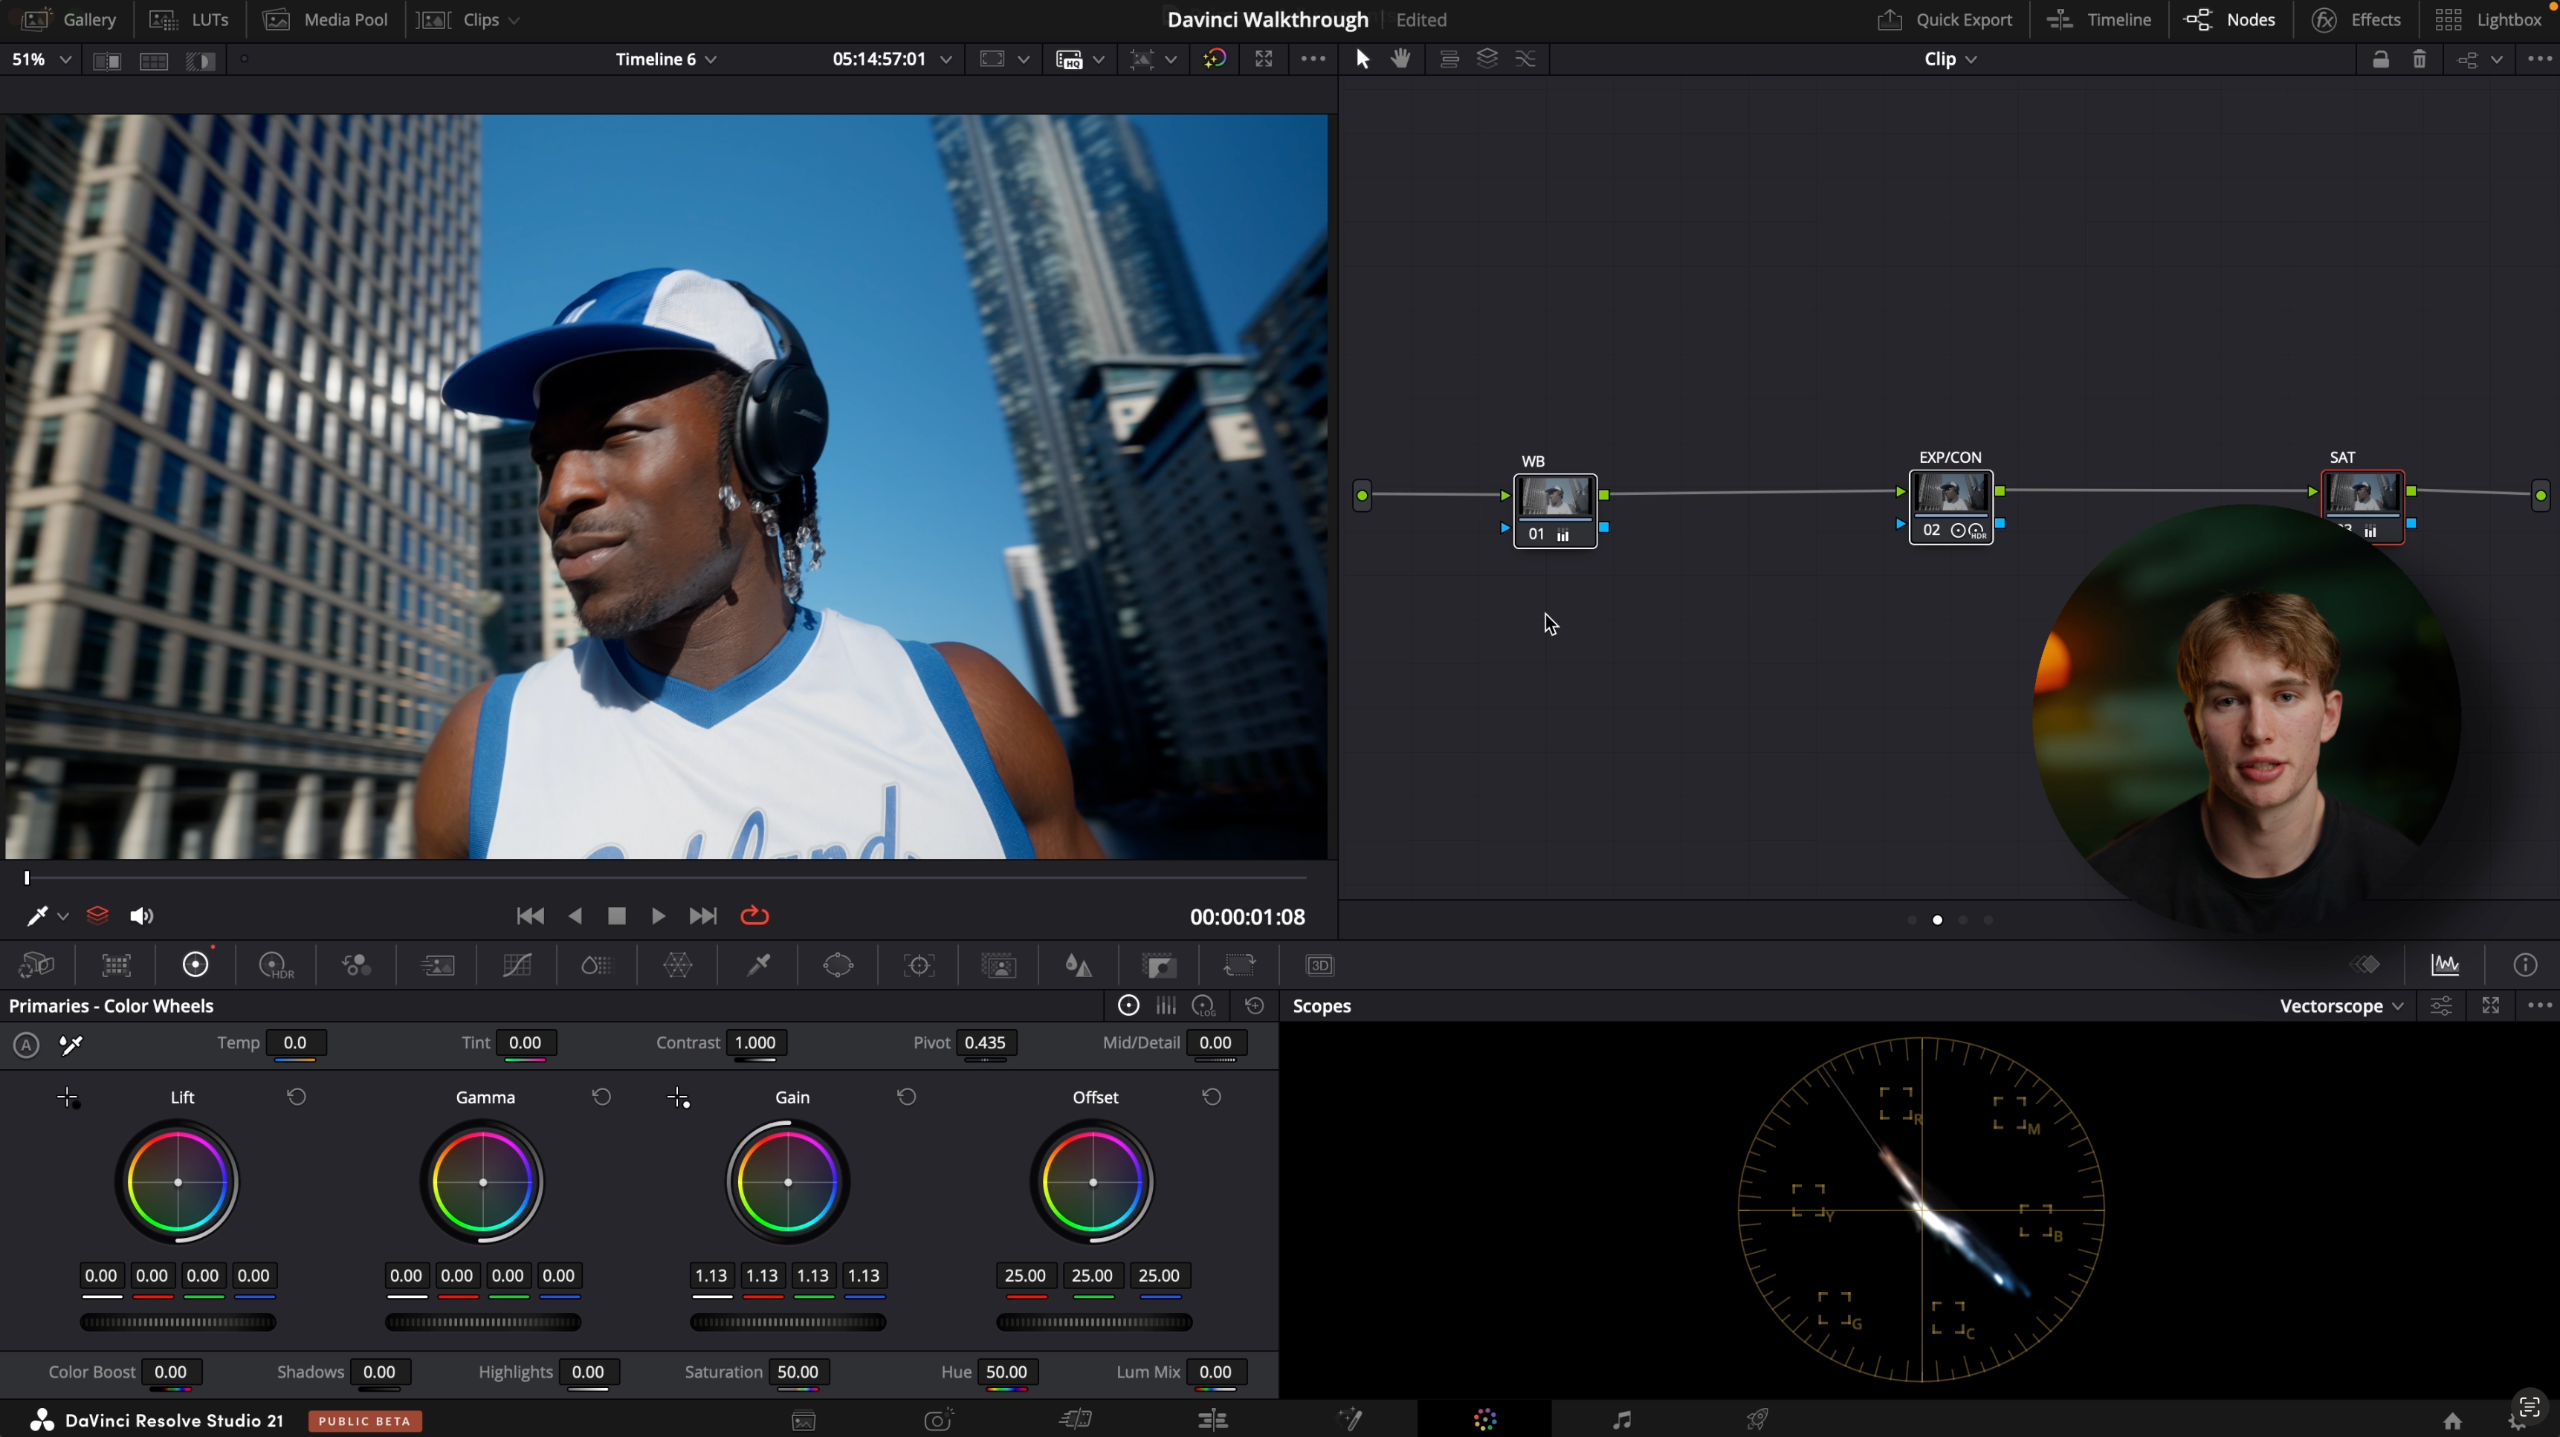
In the first chapter we'll cover the absolute basics of colour grading in DaVinci Resolve, from getting to know your way around the colour page, to dialling in your project settings. You'll learn how each node works, how to read and use the scopes, and what the best export settings are for each platform.
Deep dive into colour management + working with raw footage
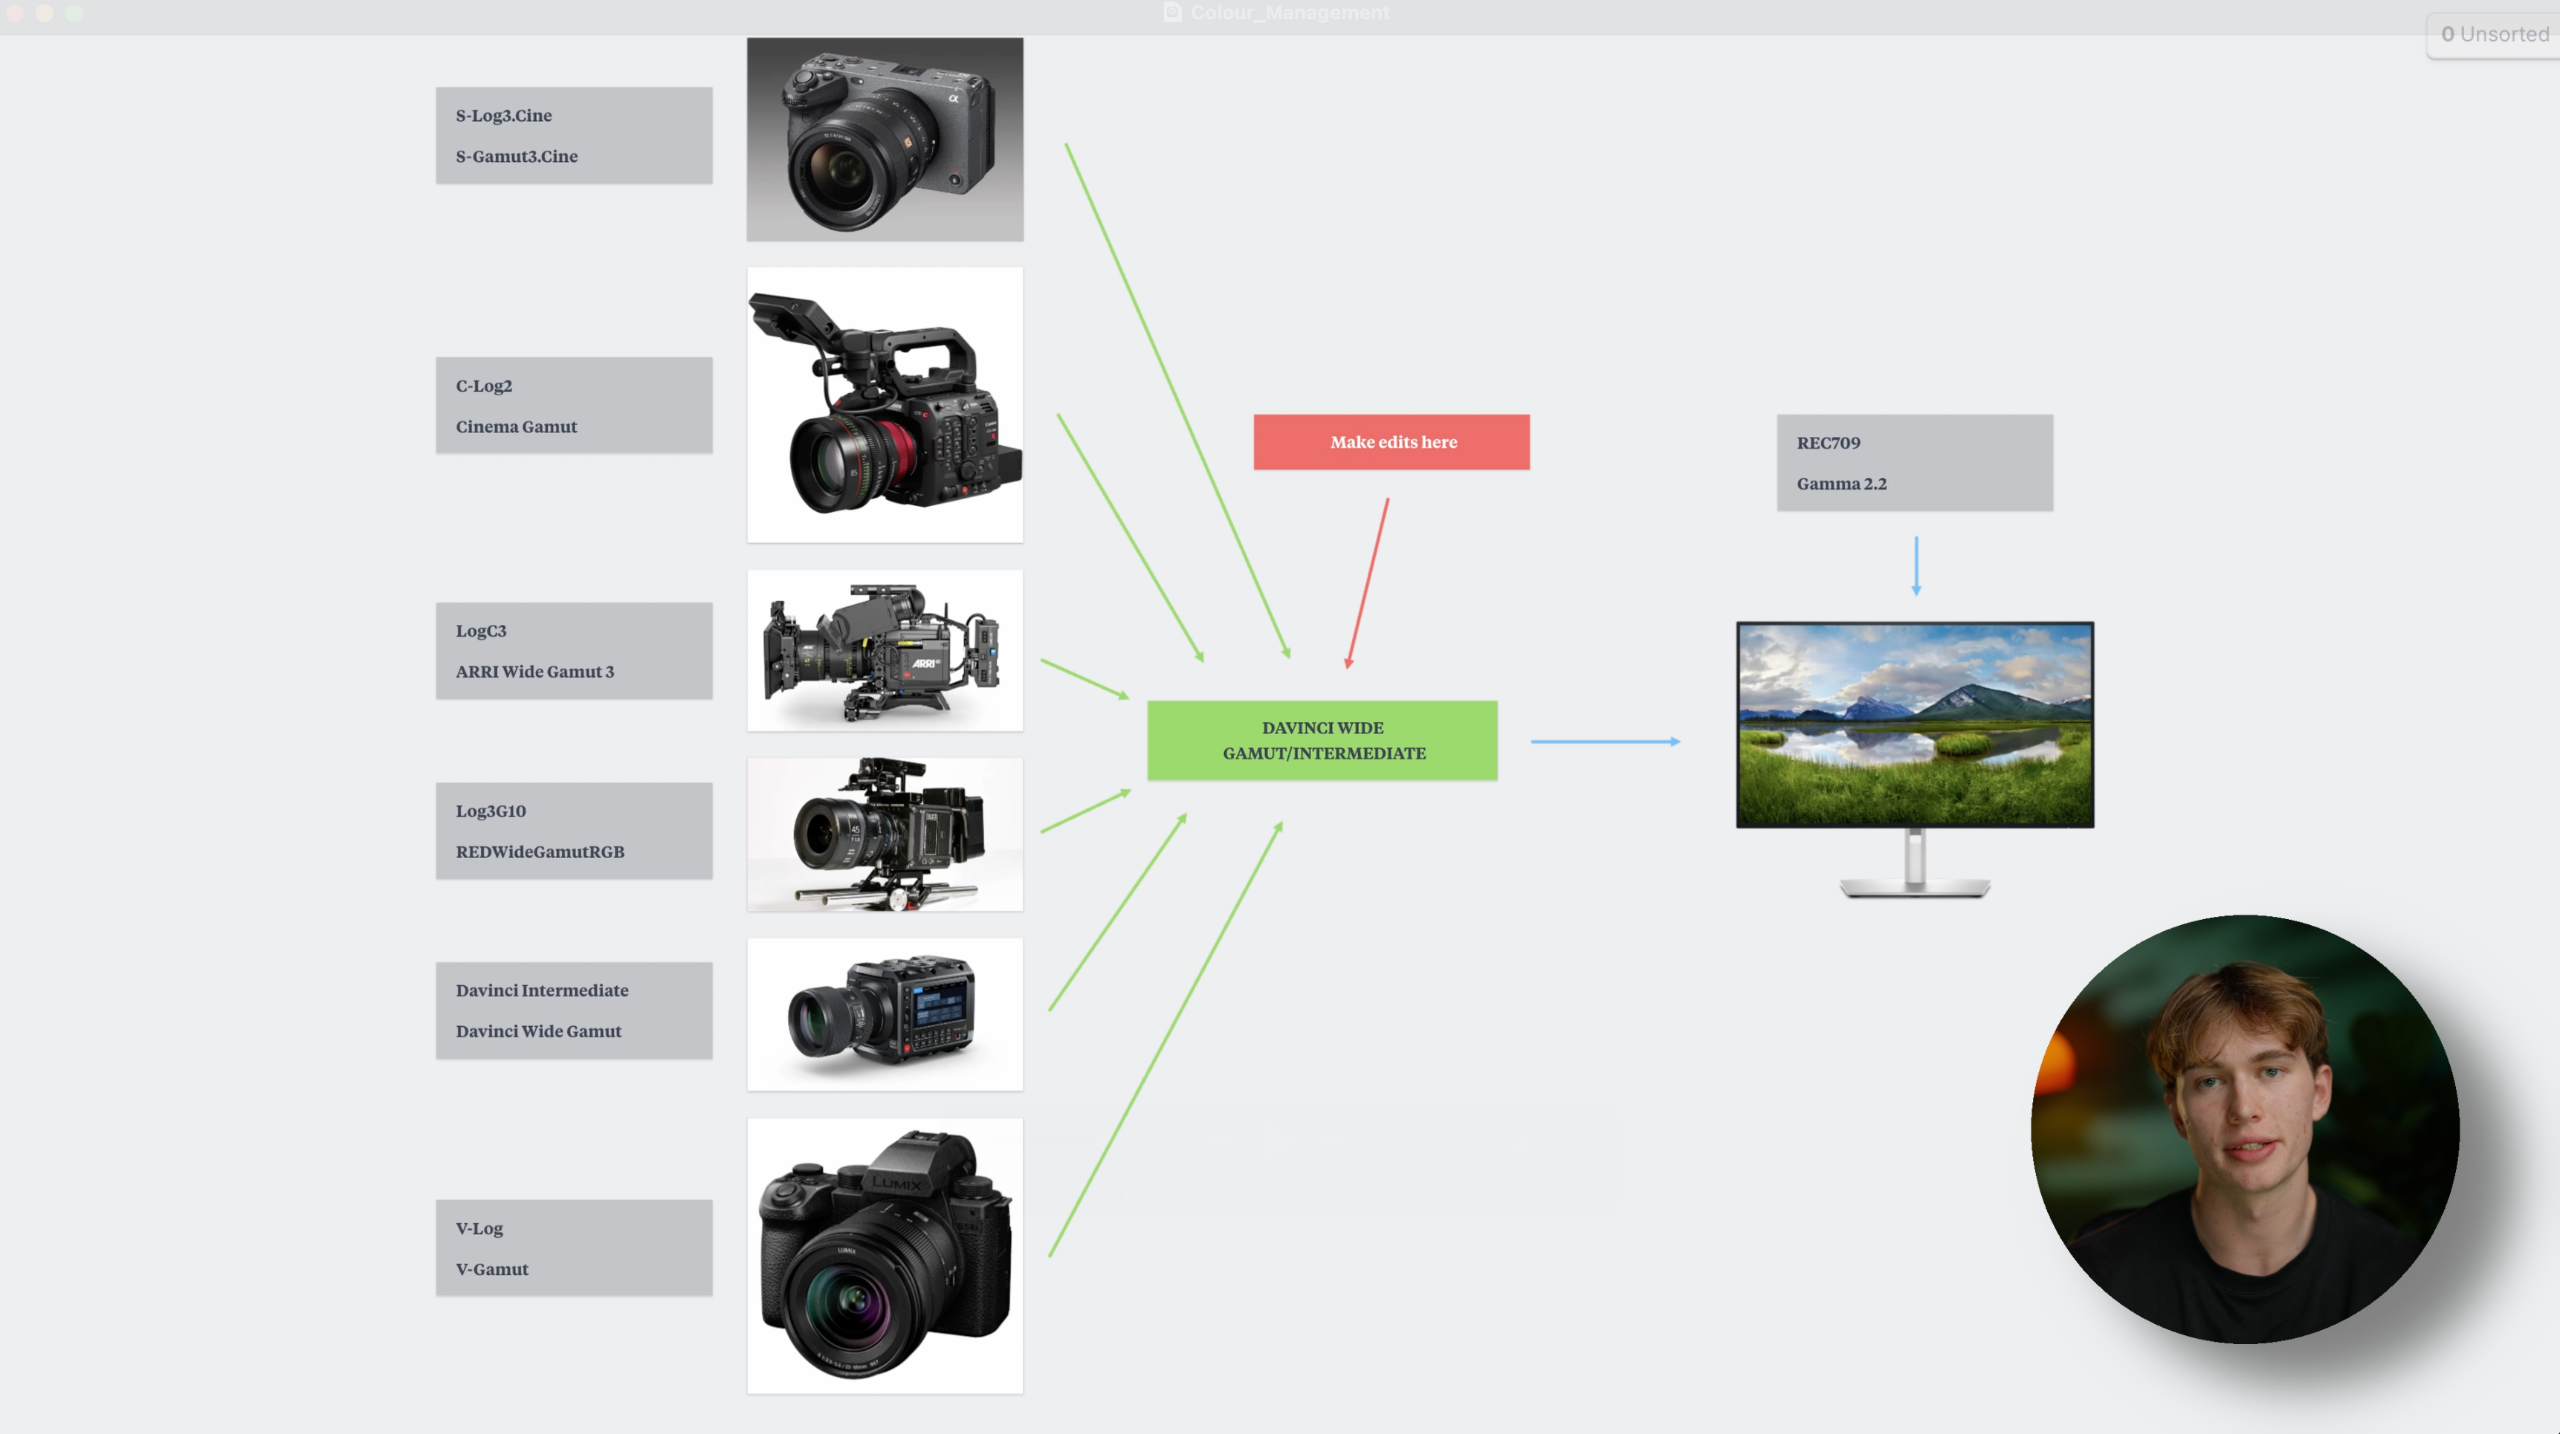
In the second chapter we'll break down exactly what colour management is, why we do it, and all the different ways to do it in DaVinci Resolve. We'll also cover how to work with and colour manage RAW footage.
Break down of colour correction techniques
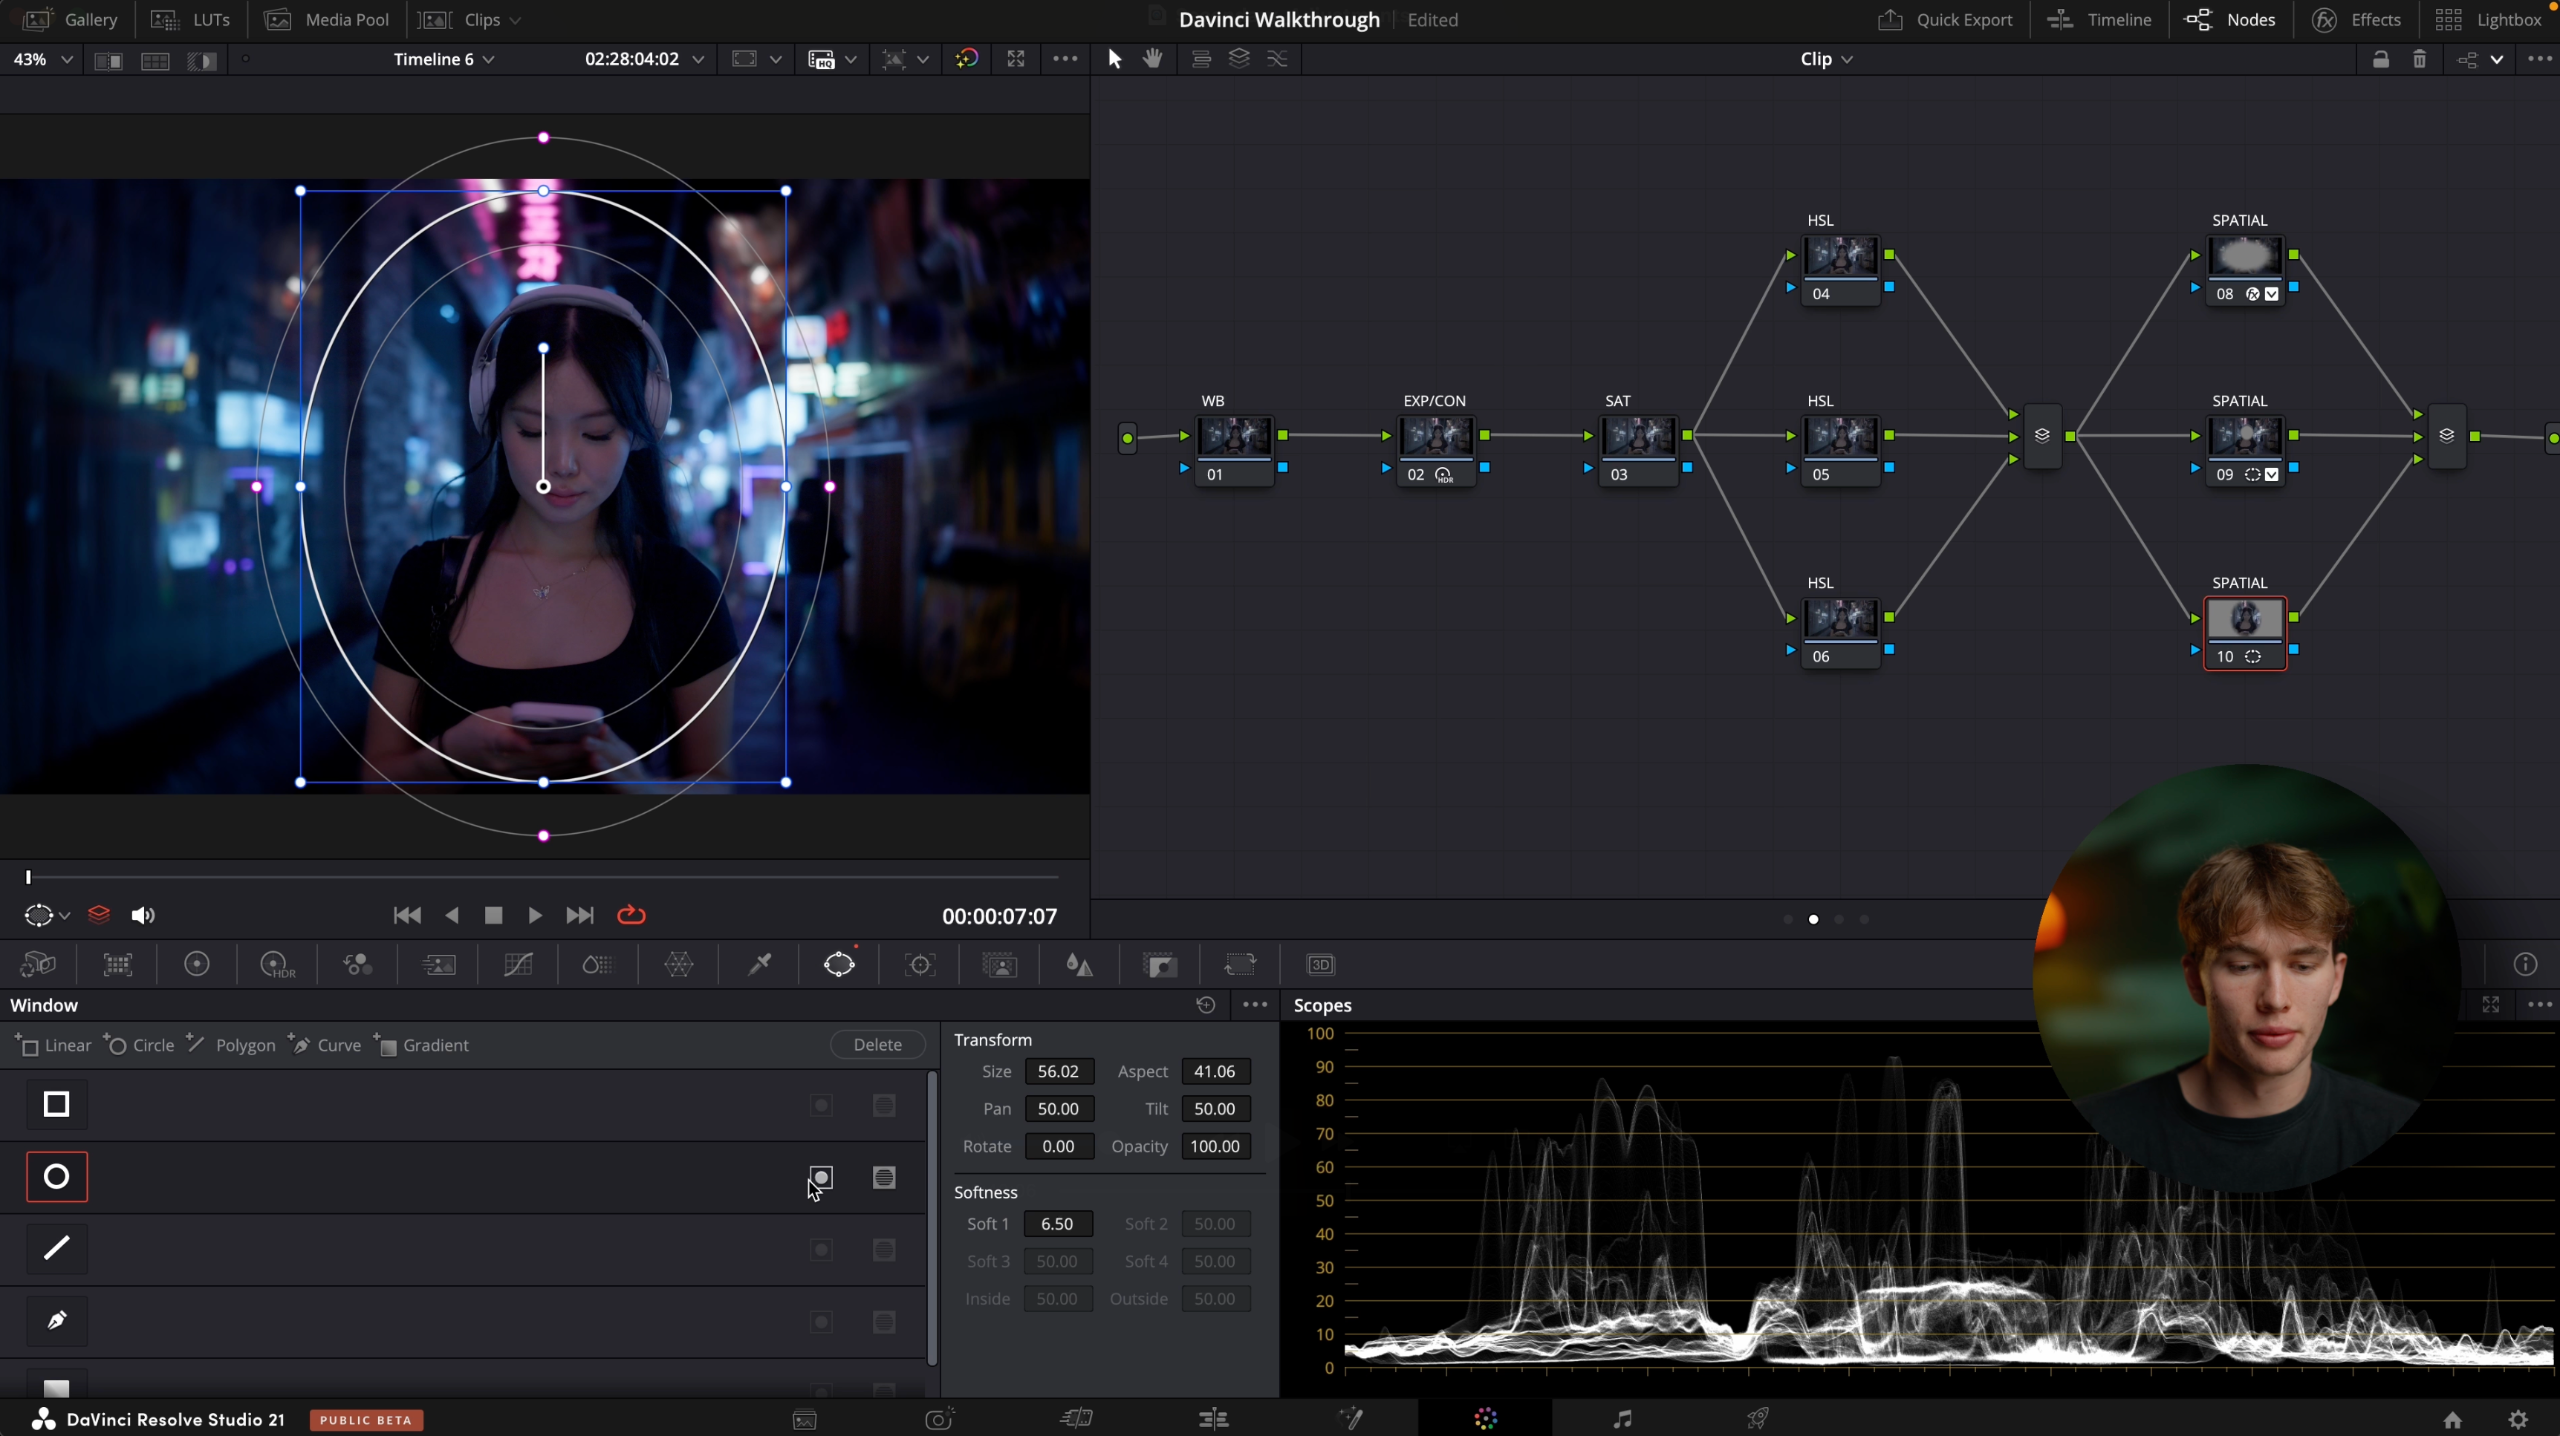
In this third chapter, we'll go over the difference between primary adjustments and secondary adjustments. What each of the adjustments tools in DaVinci Resolve are and when we'd want to use them, as well shot matching techniques to create consistent grades, and advanced noise reduction techniques.
Learn to build your own creative grades through look development and building your own LUTs
In the fourth and final chapter, we'll take a look at how to develop your own creative look, save it as a LUT, and replicate colour grades from your favourite films and TV shows.